A Guide to Capturing the Northern Lights: Techniques and Gear
Capturing the Northern Lights requires careful planning and the right equipment. This guide provides insights into the best locations, optimal conditions, and essential gear for photography.
Understanding the Northern Lights
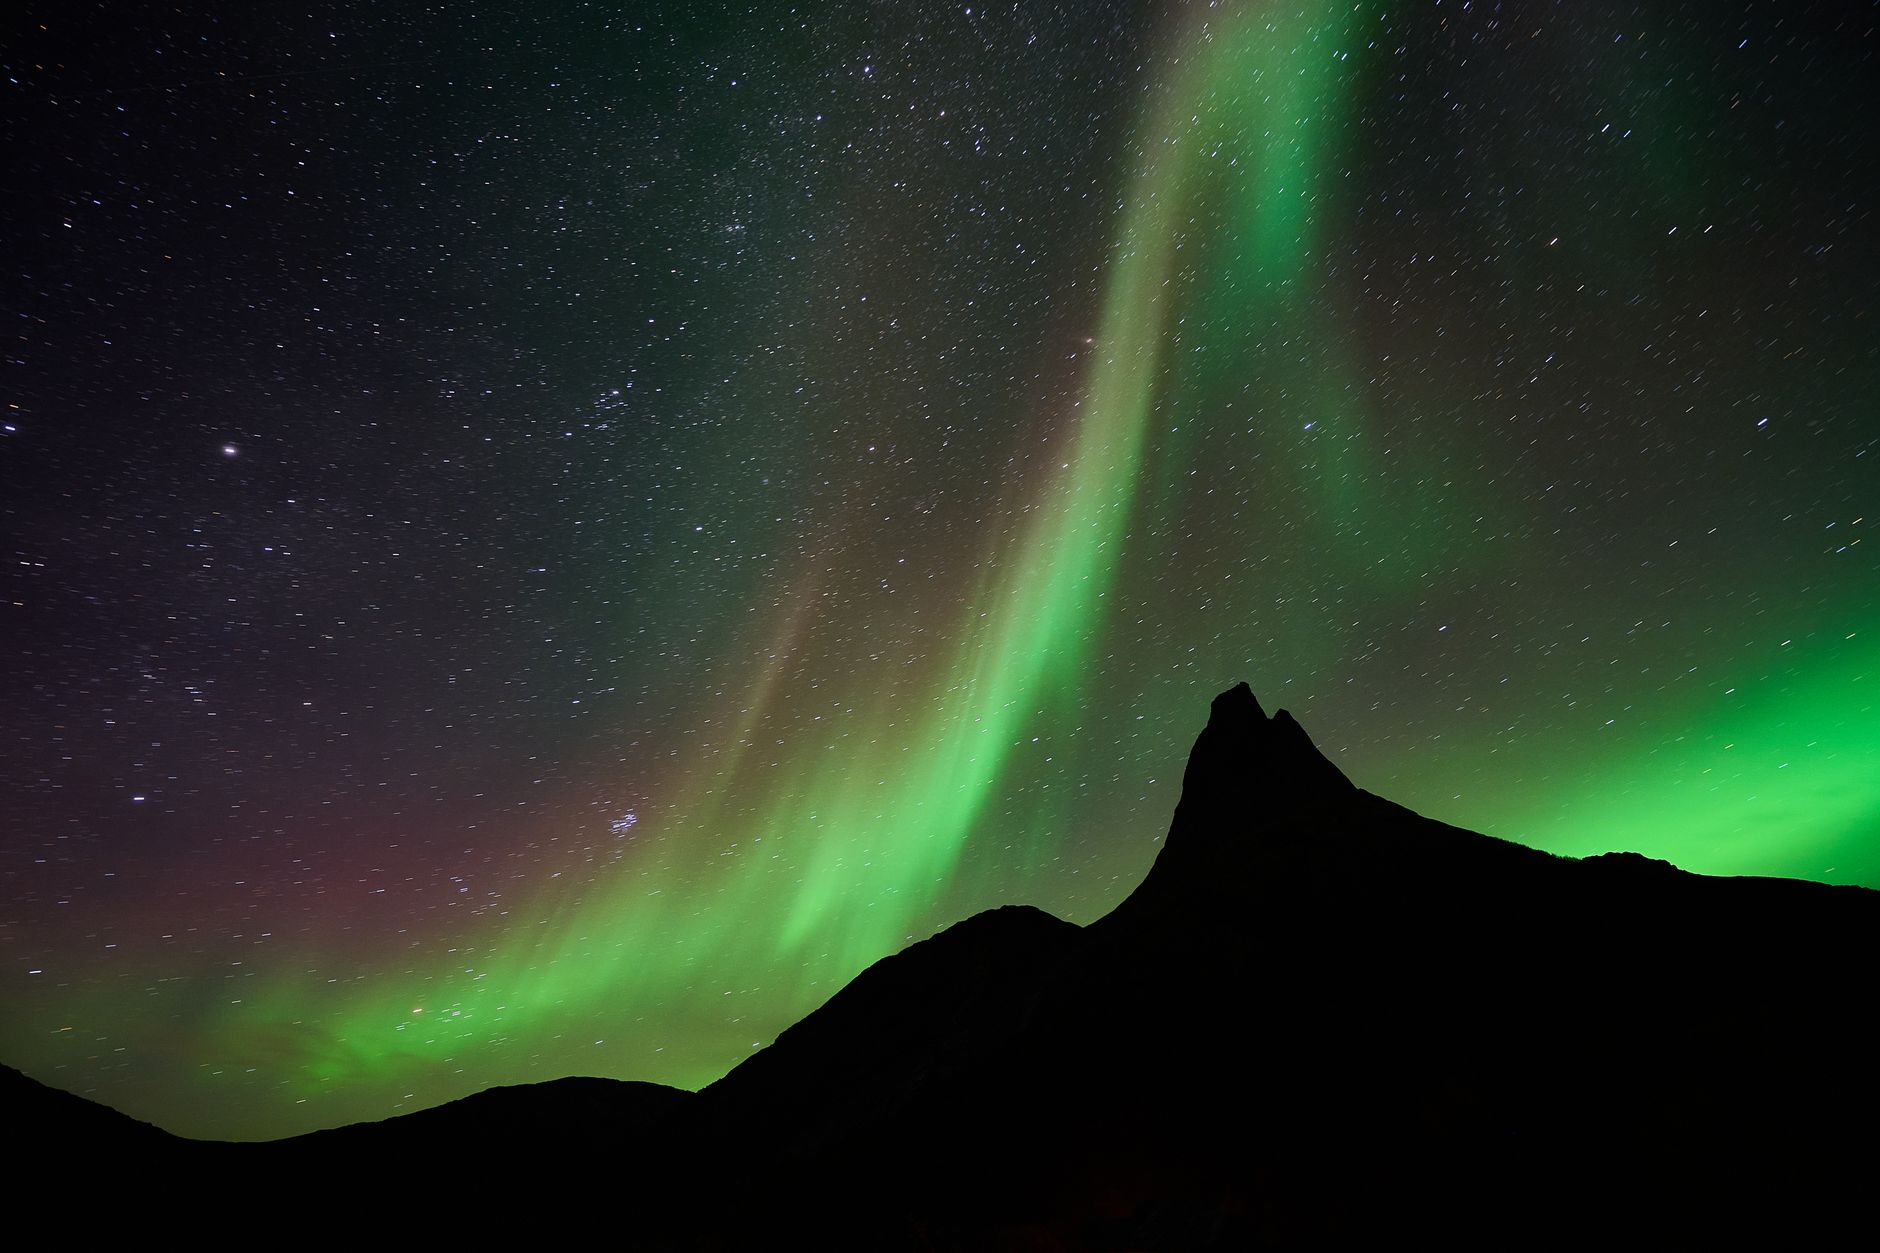
The Northern Lights, or Aurora Borealis, are natural light displays predominantly seen in high-latitude regions. They occur due to the interaction between solar wind and the Earth's magnetic field, producing vibrant colors in the night sky. The best time to observe them is during winter months in locations close to the Arctic Circle, such as Norway, Sweden, Canada, and Alaska.
Best Locations for Viewing
To maximize your chances of witnessing the Northern Lights, choose locations with minimal light pollution. Popular spots include:
Troms, Norway: Known as the gateway to the Arctic, it offers numerous tours and activities centered around the aurora.
Fairbanks, Alaska: This location provides a high probability of clear skies and frequent auroral activity.
Yellowknife, Canada: Situated under the auroral oval, it is famous for its consistent sightings.
Optimal Conditions for Photography
Clear, dark skies are essential for capturing the Northern Lights. Check the aurora forecast, which predicts the intensity of the lights based on solar activity. Ideal conditions include:
Low Moonlight: A new moon phase is preferable as it minimizes light interference.
High Solar Activity: According to sources, higher KP index values generally indicate better chances of seeing the auroras, but specific optimal values may vary.
Essential Equipment for Capturing the Lights
Camera
A DSLR or mirrorless camera with manual settings is ideal. Look for models that perform well in low light, such as:
Canon EOS R6: Known for its excellent low-light performance and fast autofocus.
Nikon Z6 II: Offers great image quality and dynamic range in challenging lighting conditions.
Lenses
A wide-angle lens (f/2.8 or faster) is crucial for capturing expansive night skies. Recommended options include:
Rokinon 14mm f/2.8: Affordable and provides sharp images with minimal distortion.
Sigma 14-24mm f/2.8 DG DN: A versatile option with excellent optical quality.
Tripod
A sturdy tripod is essential for long exposure shots. Look for models that can withstand wind and support your camera's weight, such as:
Manfrotto Befree Advanced: Lightweight and portable, perfect for travel.
Gitzo Series 1 Traveler: Offers stability and durability for professional use.
Camera Settings for Night Photography
To effectively capture the Northern Lights, adjust your camera settings as follows:
ISO: Start with ISO 1600 and adjust based on the brightness of the aurora.
Aperture: Use the widest aperture (f/2.8 or lower) to allow maximum light.
Shutter Speed: Experiment with shutter speeds between 5 to 30 seconds, depending on the intensity of the lights.
Composition Techniques
Consider the foreground to add depth to your images. Incorporate elements like trees, mountains, or water bodies. Use the rule of thirds to create balanced compositions, placing the horizon either in the lower or upper third of the frame.
Post-Processing Tips
Editing can enhance your Northern Lights photos. Use software like Adobe Lightroom or Photoshop to:
Adjust Exposure: Fine-tune brightness and contrast to bring out details.
Enhance Colors: Use vibrance and saturation adjustments to make the auroras pop without looking unnatural.
Noise Reduction: Apply noise reduction techniques to maintain image quality, especially at higher ISO settings.
Conclusion
Capturing the Northern Lights requires careful planning and the right equipment. By understanding the phenomenon, selecting optimal locations, and utilizing proper techniques, photographers can create stunning images of this natural wonder. Prepare your gear, check the aurora forecasts, and embark on your adventure to photograph one of nature's most captivating displays.